Poster Mountain is located in Southern California, an area that is known for its fruit production. We are regularly treated to the sight of massive trailers of oranges, lemons, and other produce driving along the freeways. Before transport trailers became the method of shipping produce, everything was shipped in crates. These crates had labels on the ends that displayed the type of produce and the grower/distributor. Almost every group had its own personal design that they modified slightly for different types of produce, although there were some stock designs kept by printing houses. In some cases labels were produced in the thousands and even tens of thousands. Although like any collectable ephemera, there are some extremely rare labels that are highly valued.
Some of the labels are still in good condition because they were never used and were found sitting on shelves in warehouses. However, most of the ones that we work on have been glued to crates, are missing sections and are rare, including this blog project. I have seen a few other Glenwood crate labels for sale online, but none of them have the red and green border like this crate label.
 |
| Pictured: This is a rare crate label for Glenwood Oranges. They have had variations of this same label for each kind of fruit they sold. |
Poster Mountain's process for conserving crate labels is to put them through the isinglass gelatin treatment to flatten them out and then soft mount them to a melamine board. Since they are not backed we use a very thin tissue as a foundation for all of the areas where parts of the label are missing and where we will need to add paper back in. The tissue is a support for the patches and sits under the label so we position it on the back of the label during the conservation process. The tissue is layered between the label and the hollytex and when the patches are glued in permanently becomes part of the label.
 |
| Pictured: Here I am measuring the tissue strips to make sure that I have cut them the right length. |
 |
| Pictured: To get the strongest base we overlap them just slightly. |
Washing these crate labels is made relatively easy because of their size. They do have their own issues. The paper is very thin and must be handled carefully, especially when wet. And the ink that was used is petroleum based, so it is resistant to water which means that the back expands faster than the front. This can cause some very scary looking warping at first. I was really freaked out the first time I washed one of these because it started to look like the ripples from dropping at rock into a pond. However, with some gentle massaging the water absorbs into the paper and it flattens out again.
 |
| Pictured: Where the water is pooling is where the crate label is warping from the water being absorbed at different rates across the label. |
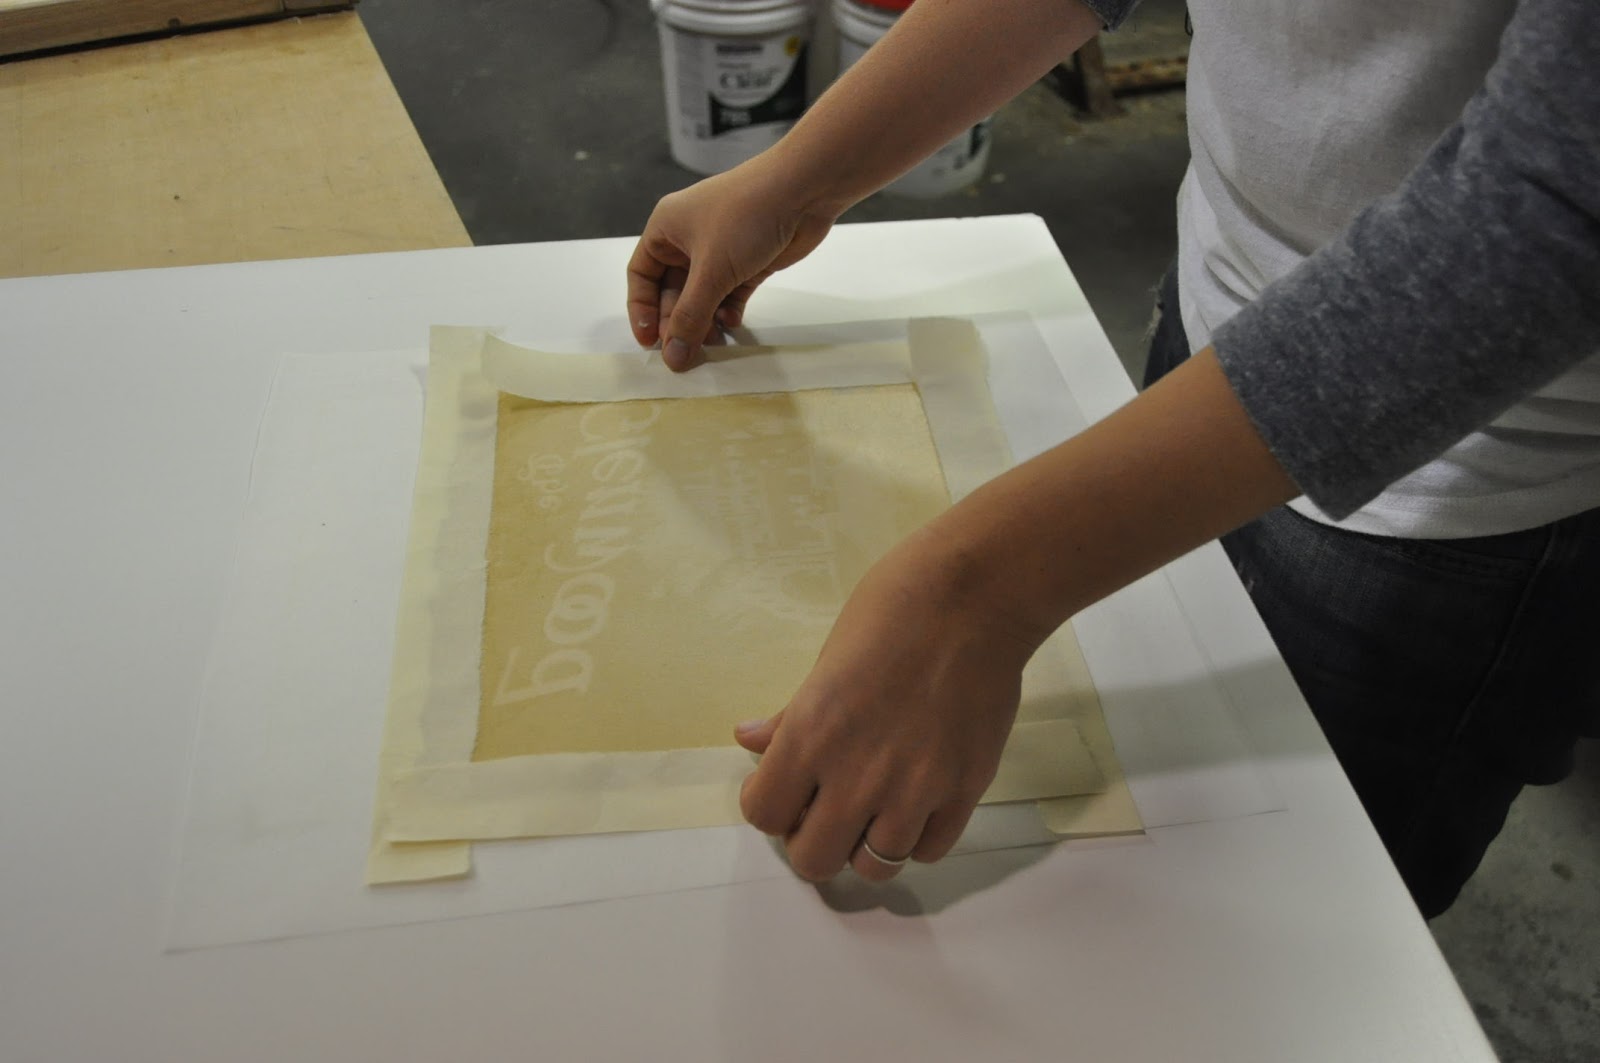
Once the label has been washed and rinse it is time to apply the tissue. This has to be done quickly and carefully because after the tissue gets wet it is very fragile and can tear easily.
 |
| Pictured: Placing the tissue is key because you want enough sticking out to glue the patches to, but enough across the original paper that it will hold the two together. |
 |
| Pictured: The tissue becomes very transparent when wet. |
After all of the tissue has been laid down a piece of hollytex, and some conservation voodoo, is spread across the back of the crate label. Then the whole hollytex, crate label and Mylar sandwich are moved over to a melamine board and the Mylar is removed. Then they are left to dry.
 |
| Pictured: I always feel like a hand model when we take conservation pictures. I am using my palms to smooth out any air bubbles between the hollytex and the label. If there were air trapped between the two it could cause the crate label to lift from the melamine board and we would have to redo the whole process. |
It usually takes a minimum of 24 hours for anything that has been put through the isinglass resizing treatment to dry. If the weather is humid or cold or the paper is thick it can take 2 or 3 days.
 |
| Pictured: Here is a the dry crate label. The Pinnacle label will also be a blog project at a later date. |
Once they are dry, we can begin prep work. This means taking vintage paper and cutting out patches. We use tracing paper to get as precise a patch as possible. Then it is glued directly onto the tissue that was added during conservation.
 |
| Pictured: We use a low adhesive tape to define the borders and get square corners on the patches. |
Additionally any cracks in the paper or holes that aren't large enough to be patched with paper we apply a textured filling compound. This may be one of the things that makes Poster Mountain's restoration work so good. Paint in a hole just looks like paint in a hole, no matter how big or small that hole is. However, the attention to even the tiniest cracks means that when the restoration artists start applying pigment it won't sink down, but will sit on the same plane as the original ink.
 |
| Pictured: A detail of the patch along the top. |
 |
| Pictured: A detail of the patch along the bottom. |
With prep work finished the crate labels are off to masking. This is some of the most detailed masking work because they are small and often have tiny details around borders.
 |
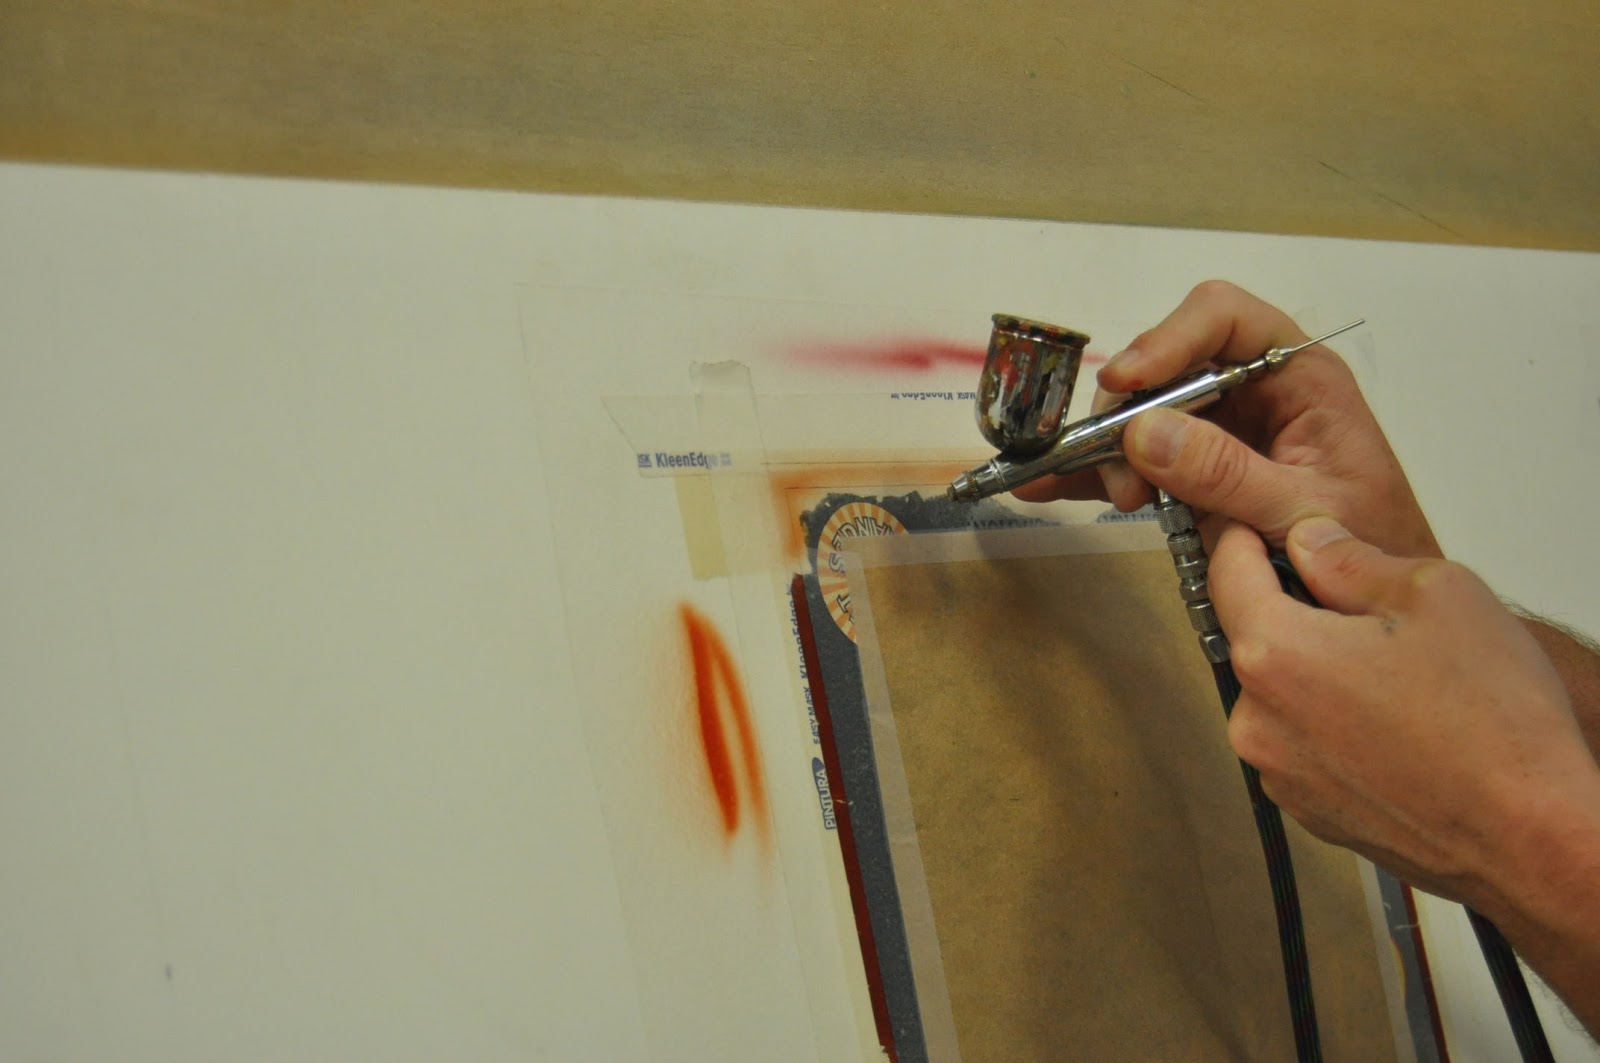
| Pictured: Forgive the sideways photo, but here is the crate label masked off to paint the red border. |
The guys in airbrushing and masking work very closely together to decide which colors to paint in what order. Once one color shot has been finished by Aaron it usually goes back to Gabe or Junior for another round of masking, just like this crate label did. They did the red border first, then the green part of the border and then the shadowy trees around the outside of the image.
 |
| Pictured: Aaron builds up layers to match the color |
 |
| Pictured: This was the mask for the green part of the border. Gabe had to cut out the interior of the red knot designs so they could also be painted green. |
 |
| Pictured: This was after the last round of airbrushing before it moved to detail. |
Here I have to apologize because we seem to have a black hole in our computer where the pictures of Katie detailing this crate label have disappeared into. They'll turn up some day, but for now you're just going to have to use your imagination to fill in the blanks between the last photo and our final, glamor shot.
Looks great! It might not seem like it because of their size, but we spend about as much time restoring these as we do a one sheet.
It should be noted that several crucial steps in our process have been
omitted. If you have any questions please contact us
via email at postermount@aol.com or by phone at 818.882.1214.
Also check out our websites:
http://www.postermountain.com and
http://www.lapapergroup.com/. Please feel free to leave comments or questions on the blog!


Comments
Post a Comment