
Happy New Year! We hope everyone enjoyed their holidays and are well rested and ready to send us lots of exciting projects to blog about!
Our first post of the year is about an integral aspect of our restoration process that we have mentioned, but never focused on: burnishing folds and tears. Detailing small tears and folds is part of the bread and butter of the restoration side of our business and burnishing makes adding pigment back in much easier.
The poster we're working on is a German VW poster. The client was only concerned about one tear in the background right next to "bergfreudig".
 |
| Yes, I know. The tear is so small that you can't even see it in this photo. |
In order to restore the tear, we first needed to prep it.

The tools we use for this are: a burnishing tool, Methylcellulose, a small paint brush, hollytex and a small iron. There are a lot of different kinds of burnishing tools, but I prefer a teflon one because I can shape the angles I need and can work without scratching the surface I'm working on. Methylcellulose is a chemical compound that we mix with water to form a clear viscous solution that is a very, very mild adhesive. We use Methycellulose to soften paper fibers so that they can be burnished back down. Hollytex is a polyester fabric that we use in many areas of conservation, but for prep we use it to protect the poster from pressure or heat and in this case specifically from the heat of an iron.
 |
| From left to right: Methylcellulose, burnishing tool, paint brush, hollytex and a small iron. |
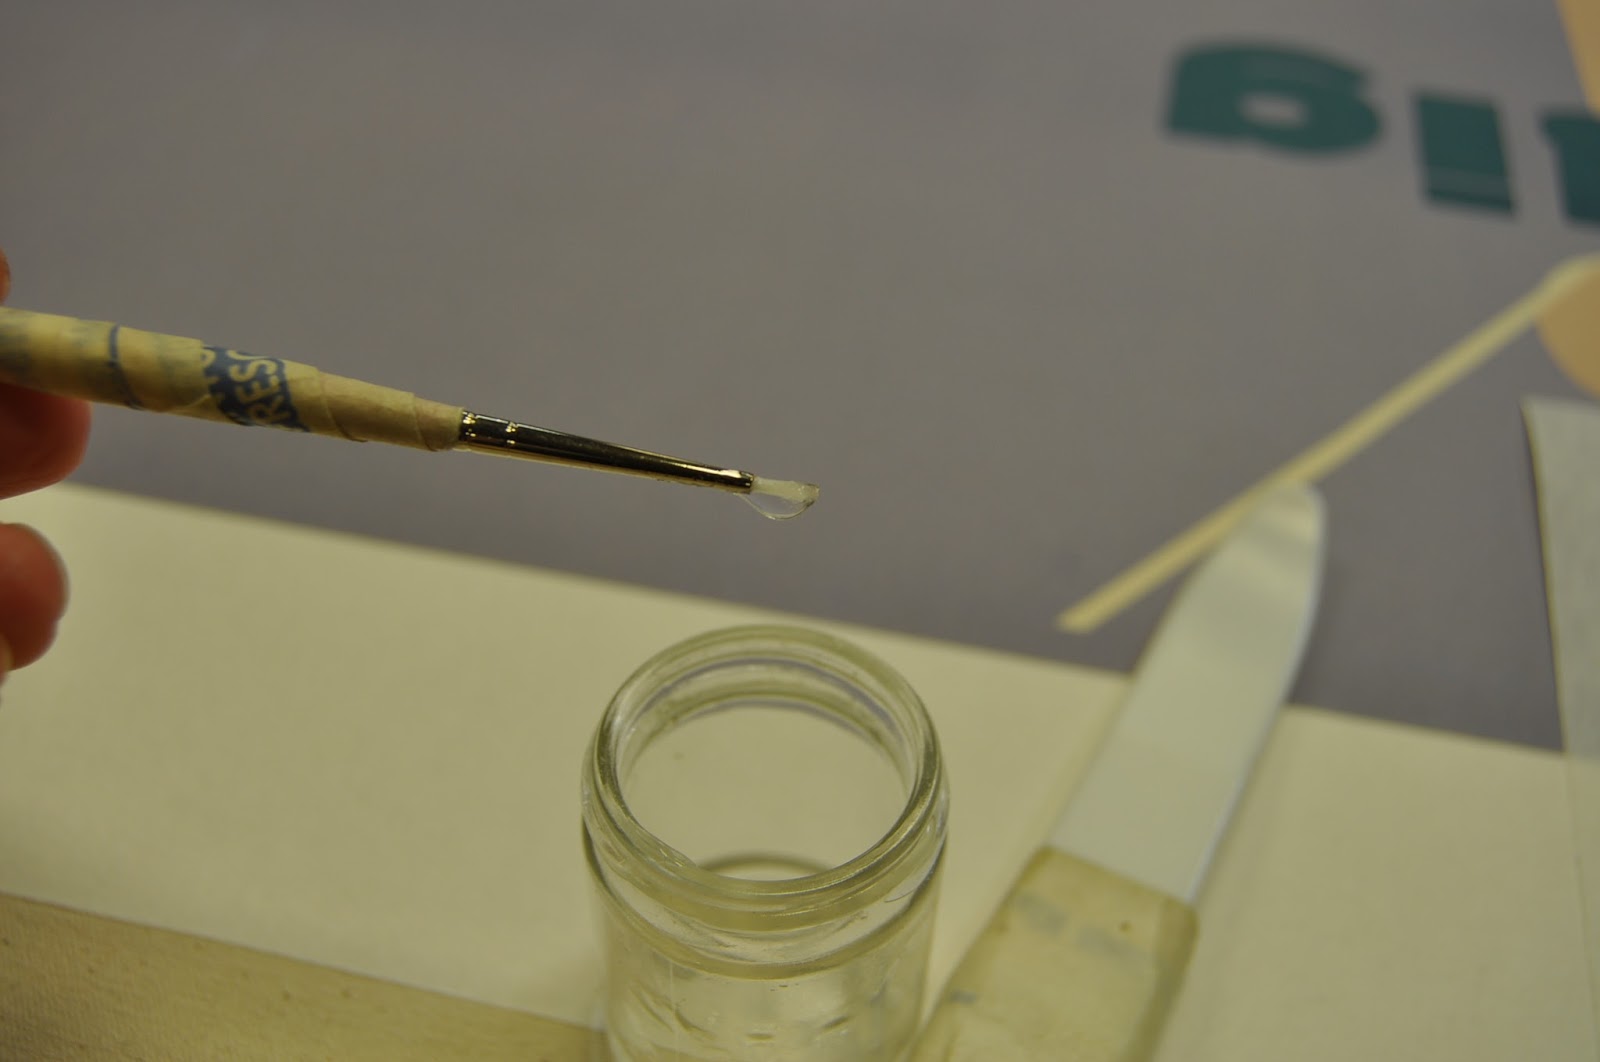 |
| Methylcellulose when mixed correctly is very viscous and often just hangs from the brush without dripping. |

 |
| A thin line of Methycellulose applied along part of the tear. I don't know about you but I'm getting tired of typing Methylcellulose. |
 |
| To burnish means to polish something by rubbing it. For prep we want to polish the paper fibers back into place. |
 |
| I've found that a small travel iron gives me the most control. |

The point of prep before restoration is to create as flat a surface as possible so that we can then seamlessly add pigment back in.
 |
| That's not even all of my greys. |
And in this case I used a combination of Prisma colored pencils to restore the tear.

At the end of the day we try to balance the wishes of our clients with best industry practices. Restoration using colored pencils or watercolors can sometimes be seen if you know what you're looking for, but they can also be reversed if necessary. And if we've done our job, you definitely have to know what you're looking for.
 |
| This photo was taken from about 6 inches away. |
 |
| Still can't see the tear, but now it has been prepped and detailed! |
Also, check out our websites: http://www.postermountain.com and http://www.lapapergroup.com. Please feel free to leave comments or questions on the blog. For daily photos and updates check out Poster Mountain's Twitter and Instagram: follow us on Twitter @postermount and Poster Mountain on Instagram. Our subsidiary company, LA Paper Group will be showcasing the fine art side of the company: @LAPaperGroup on Twitter and LAPaperGroup on Instagram.
You did a very nice job I like your website it is very interesting and helpful for me I am really sure that you enjoyed during writing the content on your website
ReplyDeleteled poster video display