We are doing our first ever Flashback Friday post! A few weeks ago I was looking through some of our old blog projects and found an unfinished blog about a fruit crate label. We used to do dozens of these and although the demand has slowed down they are still one of my favorite pieces of vintage advertising to work on.
Crate labels are usually on very thin paper which were glued to the sides of the wooden crates that the fruit was shipped in, which explains why the corners are often missing, such as in the Pinnacle Brand label featured in this post.
 |
| Here's the Before photo |
Despite missing all four corners this crate label was still in pretty good condition since the majority of the image was still there and we could tell what the missing text was supposed to say.
 |
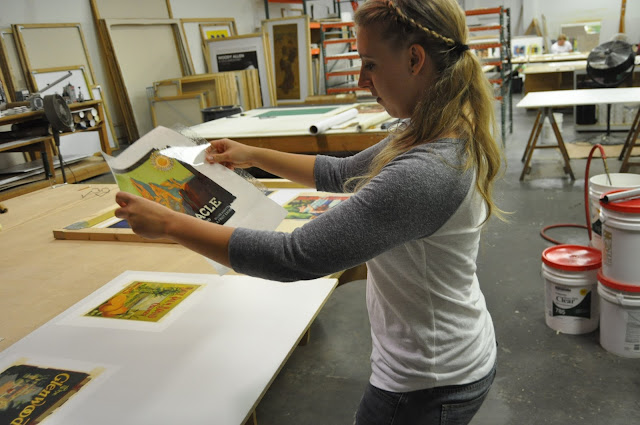
| This project is from about two years ago (I know because it was before I chopped off most of my hair!) |
Step one was to wash out any impurities and then put the label through our isinglass gelatin treatment so that it was temporarily mounted to a melamine board.
 |
| Even though the paper is very thin, you can still see that it has been partially skinned in this corner when it was removed. |
During the gelatin treatment I applied tissue on each of the corners. The tissue patches will form the foundation for paper patches to be applied later.
Hollytex is used as the temporary substrate between the board and the crate label and is also applied during the gelatin process.
Once the label had dried we then began prep. We were fully restoring this label to its former glory and so needed to recreate all four corners. The very thin paper like that of crate labels can be difficult to work with, partially because it is so delicate and partially because it is difficult to find appropriate paper to patch with. After searching through all our boxes of vintage paper I finally found the right kind of paper.
 |
| This photo was taken during prep, but before the paper patches had been added in. |
After measuring out and tracing the corners I shave down the edges of the the areas that I will be patching so that it is easier to create a smooth surface to later paint on. I then use tracing paper to trace the shape of the patches that I need to cut.
 |
| This was taken after prep was finished. |
After gluing in the patches I then sand down the edges of the join so that they are smooth and perfectly flat.
Once I'm done in prep the guys in masking and airbrushing go to work.
Gabe began by finding a reference and tracing out in blue pencil the text that we would be adding in at the bottom.
Then they used tape and craft paper to cover the areas that weren't being airbrushed. The first part that we painted was the border area. This involved layering several different colors to recreate the look of a stone-litho.
 |
| This is one of my favorite photos from this post because it shows all the layers of color built up during the original stone litho process. |
After the border, both the larger dark border and the thin blue line that traces the edge of the border and the mountains, was done then we painted the mint ice cream colored sky.
In addition to airbrushing we also added in certain details by hand, like those in the sunkist sunburst in the top right corner and the text at the bottom.
Looking at the after image I think you'd be hard pressed to point out the areas that were restored if you hadn't seen all the previous images.
Certain proprietary steps and procedures have been omitted. If you have any comments or ideas for things you would like to see us cover on our blog, please let us know! If you have further questions regarding other work or your pieces please contact us via email at postermount@aol.com or by phone at 818.882.1214. Also check out our websites: http://www.postermountain.com and http://www.lapapergroup.com/. Please feel free to leave comments or questions on the blog! Also for daily photos and updates check out Poster Mountain's Twitter and Instagram: please follow us @postermount on Twitter and postermountain on Instagram. Our subsidiary company, Los Angeles Paper Group will be showcasing the fine art side of the company: @LAPaperGroup on Twitter and LAPaperGroup on Instagram.


This comment has been removed by the author.
ReplyDeleteSuch beautiful work, John. You and your team are the best!
ReplyDelete