In the last few years we have worked on five large scale Alfonse Mucha posters, most of them of "the most famous actress the world has ever known" Sarah Bernhardt. I can't resist a short (I promise I'll keep it short) art history lesson: Alfonse Mucha was a Czech artist working in the late 19th and early 20th centuries. His breakthrough as an artist actually came about because of an 1894 poster design for Sarah Bernhardt (a poster known as Gismonda). The Gismonda poster established Mucha as the preeminent French Art Nouveau artist.
The poster showcased in this series of blog posts is a beautiful example of Mucha's arabesque style of design, the print maker's art and the lovely Sarah Bernhardt. The piece arrived in our shop in what we have jokingly taken to calling an upright coffin.
It was previously linen backed and while that backing was aged it was doing its job of holding this quickly deteriorating poster together.
 |
| A thin sheet of plexi-glass makes it hard to get a good shot of the poster inside its case. |
There were round dowels at either end of the poster and it was hung inside the case on these dowels. Once we had removed the linen backed poster from the case we also needed to take the dowels off. There were multiple areas, including underneath the dowels, where the paper was crumbling away from the linen meant to preserve the poster.
 |
| Tadaaaa! |
There was a thin sheet of plexi-glass that did not allow for very clear shots of the poster while we were removing it, so here's a better photo!
As you can see the design for this poster of Sarah's American Tour is a lovely one. Originally the colors were quite vibrant and some areas were covered in shiny, metallic gold ink, but over time they have faded trading gold for an aged patina.
The photo above shows one of the most damaged areas of the entire poster. In several cases the linen was visible because the paper had flaked away completely.
Once we had removed the poster from its framing, our first step was to remove the old linen backing. To do this the piece is temporarily mounted face down on a melamine board with a protective piece of hollytex used on the front. This process is temporary, reversible and allows us to remove the backing with minimal damage to the poster.
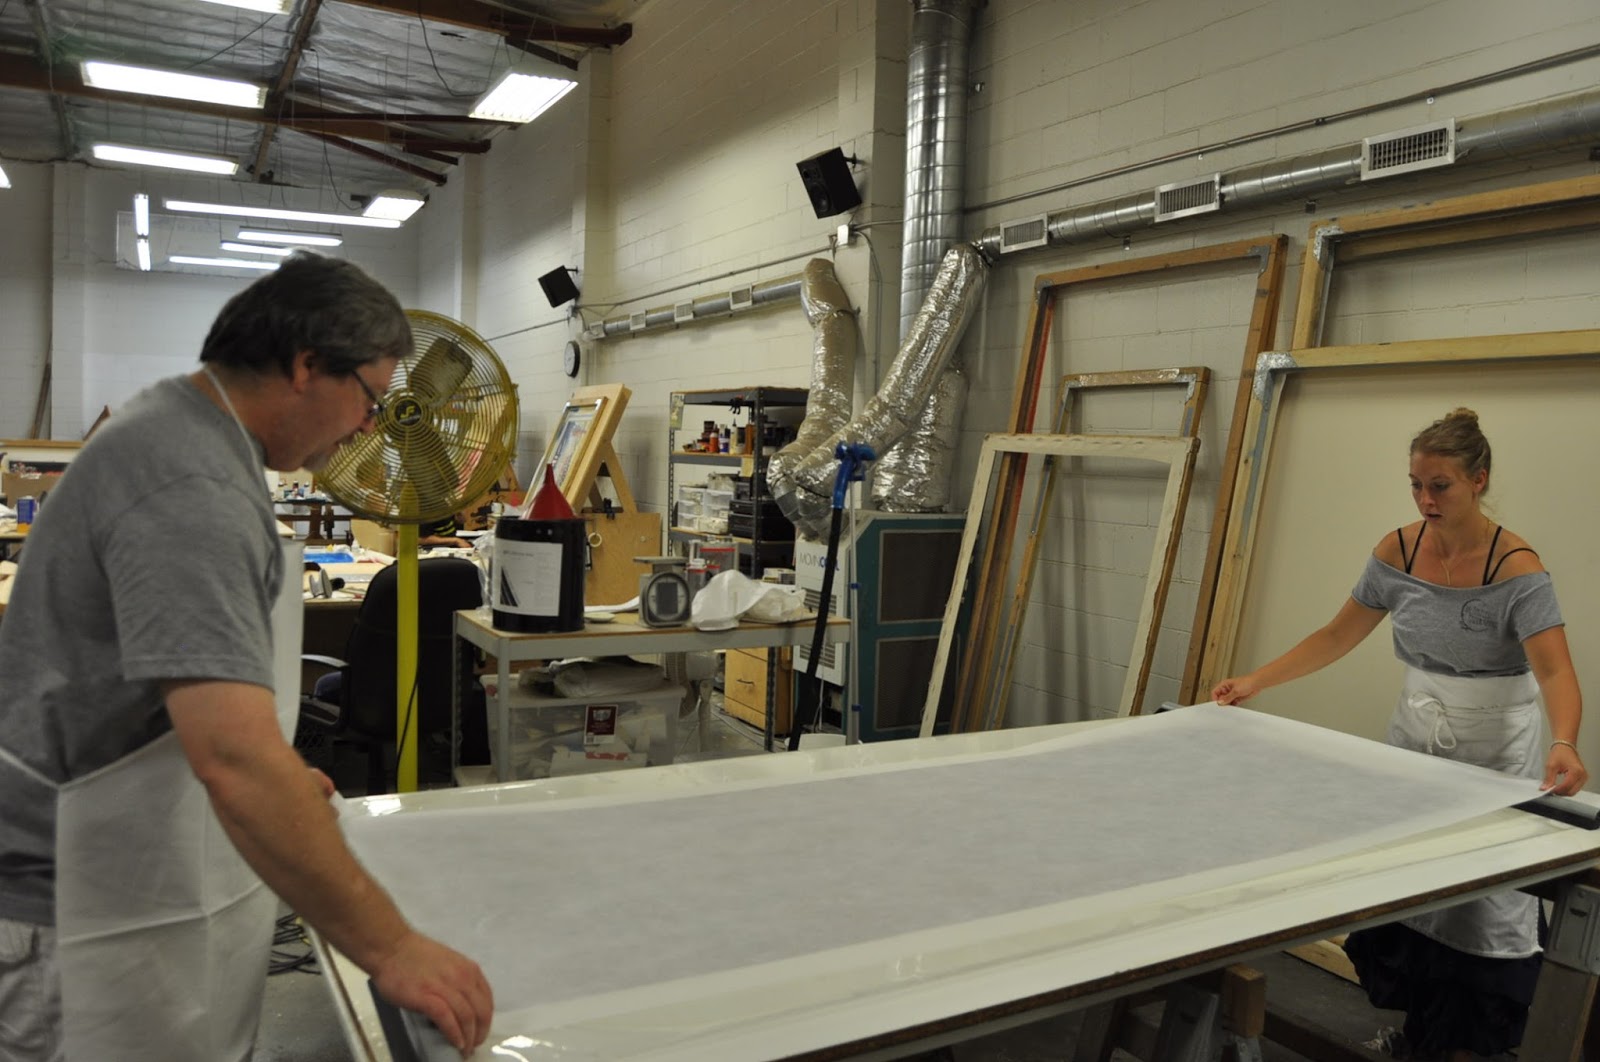
With John overseeing the process, Madalyn and I began measuring and cutting large sheets of hollytex to size. Next we removed excess fabric and the thread from the top and bottom.
In order to apply the hollytex facing and temporarily mount the poster face down we began by wetting the whole poster down.
 |
| One last inspection before we begin the process... |
You can probably guess by the title of this particular blog that this was not the smoothest project we have ever encountered. (Now that I think about it, we rarely ever blog about the projects that are easy, probably because the difficult ones are also the ones that we learn the most from.) As we began this process we probably should have realized that we were going to encounter issues
based on how dry this piece was. As soon as we started to wet it down
the poster seemed to absorb more water than usual. Unfortunately that is
a hard thing to show in photos, so you'll have to take my word for it.
As we began to rinse and squeegee the poster decades of dirt, grime and other unspeakables began to seep out of the poster as we removed the excess water.
 |
| Here we have placed one of our large melamine boards on top of the HDPE table we often use for large scale projects. |
The top third of the poster seemed to be the driest, probably based on the amount of light that this area got.
After the whole poster was thoroughly soaked, we placed the hollytex sheet on the front of the poster and used our isinglass treatment to temporarily adhere it to the front of the poster, then subsequently both the hollytex and the poster were mounted to the board.
While paper in general is not a particularly heavy medium, once it is
soaked in water it can become somewhat unwieldy, which explains why I
was making the "and she sticks the landing" pose when we flipped the
poster and facing down onto the board.
After flipping the poster over so that the old backing was exposed, we squeegeed out any excess water and made sure that the poster was completely flat against the board.
After the print and facing were flat we removed the mylar sheets that we had been using to manipulate the print while it was wet. What you see below is the old linen backing that we wanted to remove.
We waited several hours for our isinglass process to cure so that the poster was secure to the facing and the board, but while the whole thing was still damp we began to peel the linen away from the poster.
For the majority of the poster the old backing came off relatively easily. Madalyn, John and I worked pretty steadily and got about 2/3 of the backing off by peeling it off in long thing strips.
 |
| Peeling the linen off at an angle helps to keep the paper underneath pressed down so that it it doesn't lift up and damage the image. |
While most of the poster was cooperative the top 1/3, the area that I have mentioned was the most damaged, quickly turned into a problem child. For whatever reason the extreme dryness in this area meant that it had dried out faster than the rest of the poster. This left us with two issues, the first being that the linen was harder to remove and the second was that since the paper had dried too quickly the isinglass process hadn't set up properly. What this meant was when we began to get into the cracked and flaking areas of the poster the facing was not holding onto the paper and we were running the risk of loosing more paper than we had planned on in the areas that were the most detailed.
 |
| Here is just one example of gently (albeit with lots of muttering) fighting with the print in order to get it to stay down while we stripped the back away. |
 |
| I really like the poster in the background behind Madalyn, it looks as though the woman is trying to peek over her shoulder. |
After struggling for a while with the poster and getting most but not all of the old backing off, we decided that the best thing to do would be to walk away and come up with a solution the next morning. You can see in the picture below the remaining backing.
John decided that the best course of action to get the remaining linen off would be to re-wet and redo the entire facing process. In order to preserve as much of the original, albeit stubborn (hence the blog title) paper we washed the entire print again and allowed it to dry face up on the board overnight sandwiched between two sheets of hollytex.
During this process the fragility of that particular corner became evident as many of the pieces that had fractured from the whole moved. While much of the original backing was still on this corner, even that was not enough to hold on to some of the pieces in the border. We were able to maintain most of the image.
 |
| Despite all our precautions we still had a lot of movement in this particular corner. |
Once again we let the poster dry overnight, this time face up.
 |
| A detail of that very scary corner. |
The next morning we removed the facing from the front of the poster. Ultimately we made the decision to trim away bits and pieces of the border in that corner since we would be able to patch and restore it easier than trying to piece all the tiny bits of paper back together.
 |
| John peeling the first facing off. |
 |
| You can see in this photo the edges of the old backing peeking out of the top edge, as well as the corner where the paper was determined to flake off. |
The picture below is a very common sight: John walking around with a very large and extremely sharp knife that we use to separate pieces that have been flattened using our isinglass technique.
 |
| This was taken after we trimmed away the pieces of paper that couldn't be saved and while John was separating the hollytex from the board. |
|
We still needed to remove that small section of the old backing, so we once again re-wet the poster and put a new piece of hollytex on the front as a new facing. Our isinglass treatment was again applied. Then we flipped the poster face down and left it to dry.
The following morning we removed the hollytex from the back, then slowly and carefully peeled away the remaining linen backing. Since the poster had now been through several rounds of washing and drying with this linen on, it had left a slight pattern and residue that also had to be dealt with.
 |
| The multiple washings had flattened the linen, making it hard to see in this photo, but that was what I am peeling off. In places I was simply de-weaving the material, one thread at a time. |
 |
| I started working on this first thing in the morning when I was fresh, so I tackled the hardest part first. The remainder of the linen from this point on came off relatively easily. |
To see what happens to this Mucha poster, you'll have to wait for next week's blog (and a few more weeks after that, since this will take a few posts to cover.)
If you have any comments or ideas for things you would like to see us cover on our blog, please let us know! If you have further questions regarding other work or your pieces
please contact us via email at postermount@aol.com or by phone at
818.882.1214. Also
check out our websites:
http://www.postermountain.com and
http://www.lapapergroup.com/. Please feel free to leave comments or questions on the blog!


 As you can see the design for this poster of Sarah's American Tour is a lovely one. Originally the colors were quite vibrant and some areas were covered in shiny, metallic gold ink, but over time they have faded trading gold for an aged patina.
 The photo above shows one of the most damaged areas of the entire poster. In several cases the linen was visible because the paper had flaked away completely.


Comments
Post a Comment