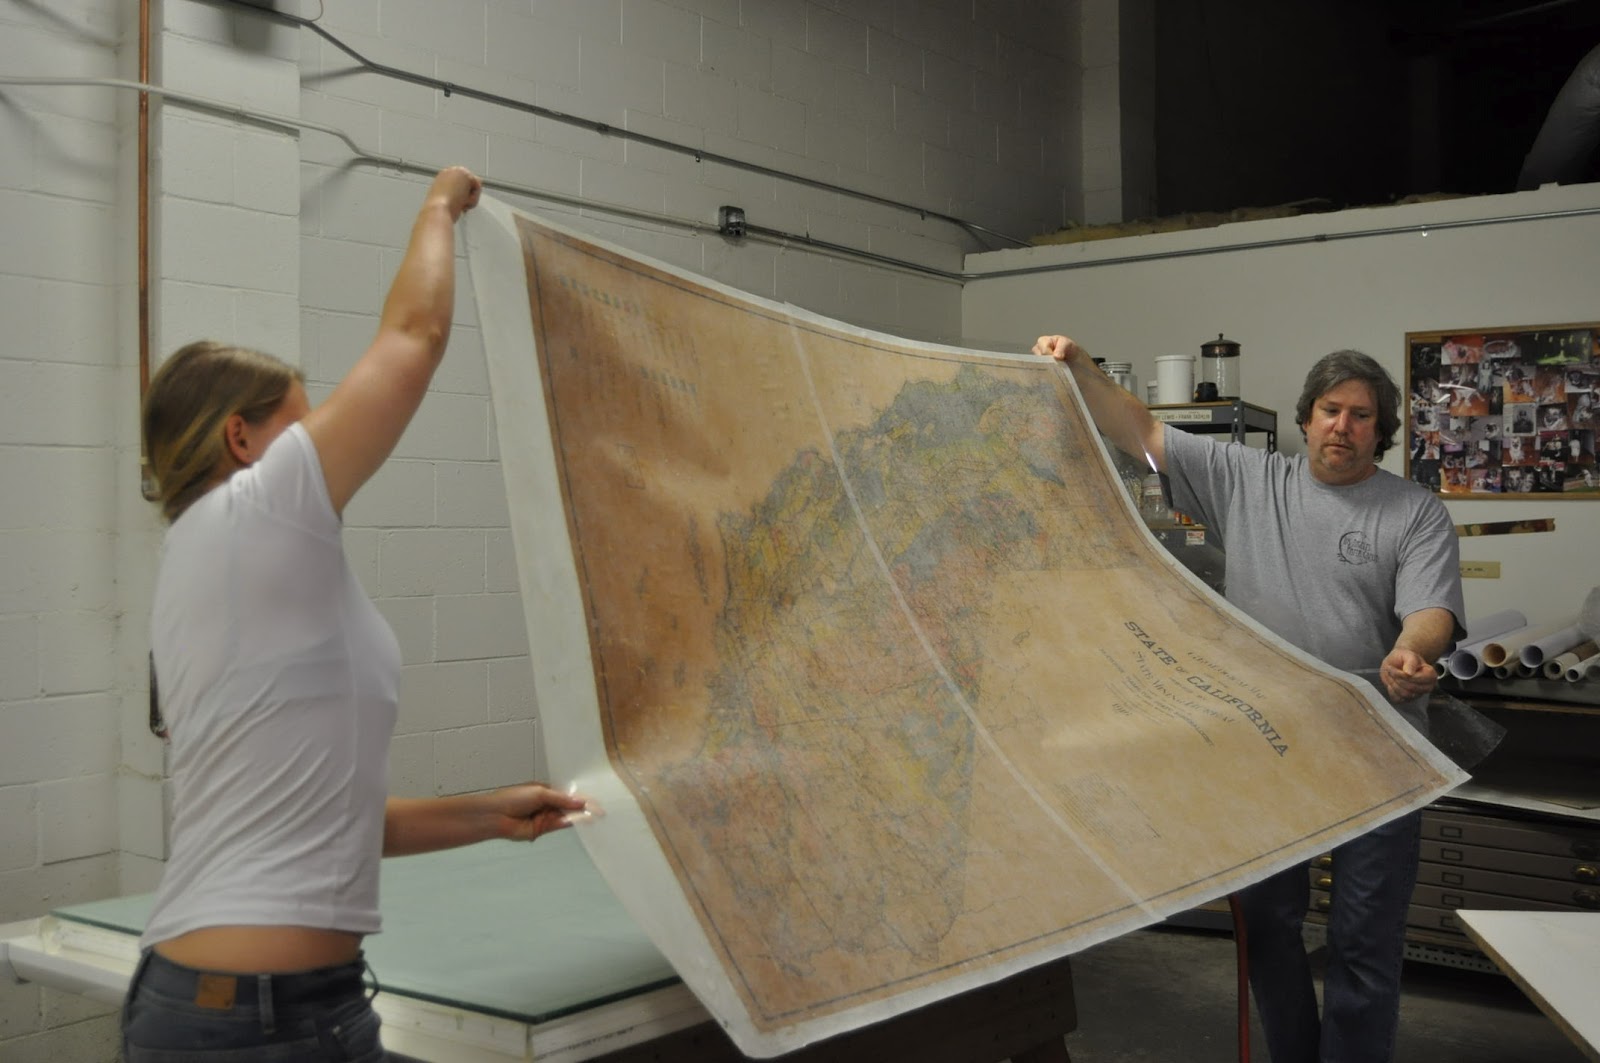
So, when we ended yesterday there was warping and water pooling on the map due to the different rate of saturation of water. Now normally we flip things over very quickly to evenly saturate the paper. Here however, we were doing a facing of hollytex on the front so that we could later remove the linen on the back. Placing the hollytex down helped to combat some of the warping because we smoothed the hollytex down with the palms of our hands, which also smoothed out some of the rippling in the map.
 |
| Pictured: Melissa and I placing the first piece of hollytex down. There is also a lovely pool of water and a big ripple easily visible in this picture. |
 |
| Pictured: Here we are smoothing the hollytex flat. |
With the two pieces of hollytex on the front, Melissa and I placed a Mylar sheet on top so that we could flip it over and spray the back. The back of the map was less involved than the front since we were mainly concerned that the water would penetrate through the linen. And since the linen was extremely thin this didn't take long.
 |
| Pictured: Melissa and I rolling the Mylar out. Not the easiest thing to manipulate even with two people. |
 |
| Pictured:
The difference in color across the hollytex on top of the map is
because of air bubbles, but at this point we just needed to get it
turned over. |
 |
| Pictured: Again it took us several minutes to get the edges aligned with the ends of the table. |
Once
we had gotten the back wet, we turned it over again. Melissa and John
smoothed out all of the air bubbles between the hollytex and the map.
They also massaged out any warping that hadn't worked itself out when
the paper was saturated enough to relax. Since the hollytex was going to
hold the map together while we removed the old linen and then remounted
it, the hollytex needed to be flush against the map so that none of the
pieces moved. I can't stress enough how fragile this map was.
Pieces wanted to flake off just looking at it.
 |
| Pictured: Once the back was wet, John and Melissa used the palms of their hands to work the air bubbles out. |
 |
| Pictured:
Air bubbles are not easy because they will squirm away from you in just
about any direction except the way you want them to go. |
 |
| Pictured: The map had developed a crease on one edge. |
 |
| Pictured: Melissa gently working the crease out using the flats of her hands. This is a delicate operation, folks.Too far and you can tear the piece, not far enough and the crease will still be there. |
 |
| Pictured: This is the build up of grime that lived in this map until we washed it out. |
Once
everything was flat, I squeegeed the excess water out.
Melissa and I then removed the Mylar without creating any new air
bubbles or pulling the hollytex off the map.
 |
| Pictured: I'm squeegeeing the water out, trying to remove as much dirt as possible. |
 |
| Pictured: Can you tell by the looks on our faces that we're really concentrating here. |
 |
| Pictured:
I try to remind everyone to smile every once in a while in these
photos, but it is hard when you're trying to remove Mylar from the top
of a century old map without pulling the next layer of hollytex off. |
John and I moved the map over to a
large melamine board. It is sandwiched between hollytex in the front and
Mylar on the back. And let me tell you, a piece of wet paper that
large is unwieldy.
 |
| Pictured:
John has been doing this so long that he has his techniques down and
looks so smooth while doing them. Me, I'm still working on just getting
things done properly and still look and feel so awkward manipulating the bigger pieces. |
 |
| Pictured:
Because the map was just the size of the board, we didn't have a lot of
wiggle room and needed to place it precisely. |
 |
| Pictured: Checking the edges of both the board and the map. |
Once it was on the board we took
the Mylar off. Again, being careful not to lift part of the map up away from the board. After that was done, John and Gabe navigated the obstacle course
(that is our studio right now) with the board, so that it could begin to
dry out a little before we removed the linen.
 |
| Pictured:
Once again Melissa and I had to take off the Mylar without lifting the
map up from the board. This side was easier though. |
 |
| Pictured:
We are so busy right now that every available flat space and rack is
being used, which meant that John and Gabe had to lift that heavy board
up and over most of it. |
 |
| Pictured: We left the map to dry for about an hour. |
Check back tomorrow to see us take off the linen. It was a seriously nerve wracking operation!
It should be noted that several crucial steps in our process have been
omitted. If you have any questions please feel free to contact us
via email at postermount@aol.com or by phone at 818.882.1214. Also
check out our websites:
http://www.postermountain.com and
http://www.lapapergroup.com/. Please feel free to leave comments or questions on the blog!


Comments
Post a Comment