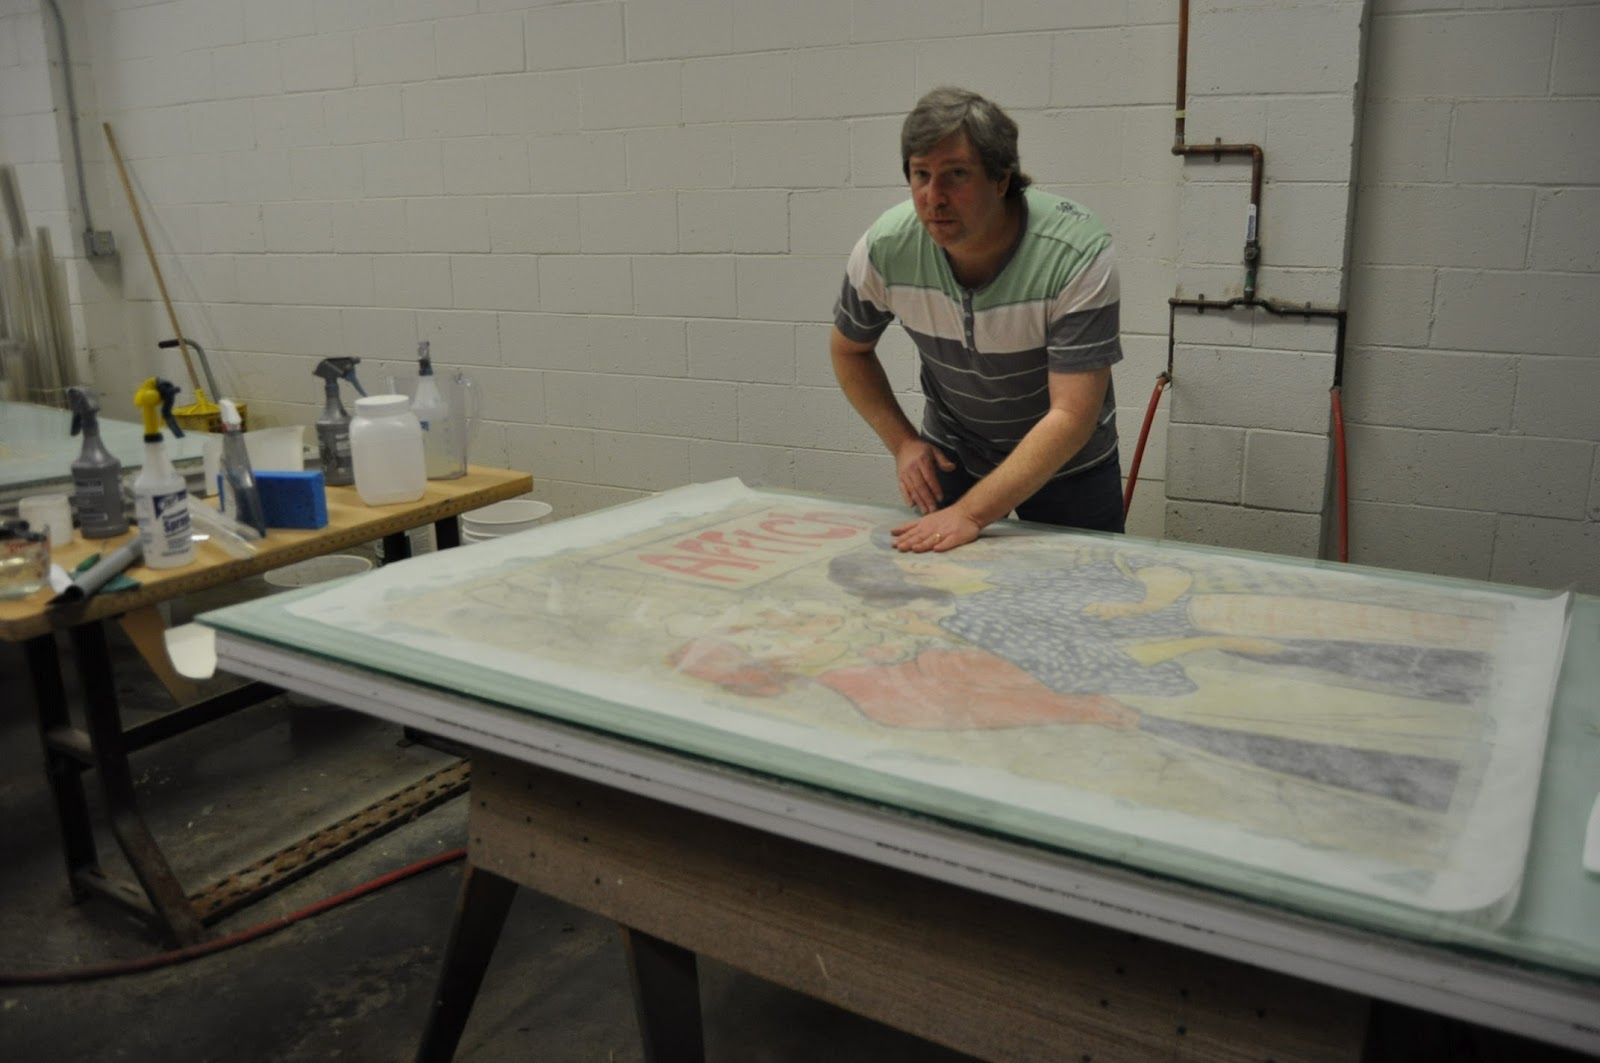
When we left off last week we were trying to decide between taking the tissue off of the back of the poster and trying to mount it with the tissue on. After seeing how the poster and the restoration responded to getting wet we decided to put a facing on the poster using the isinglass process. This meant that we could save as much of the previous restoration as possible and then remove the tissue from the back of the poster without damaging it. This also meant that while the poster was in the interim step between having the tissue removed and being remounted, the hollytex used for the facing would help support the weaker areas of the poster.
So, we took the poster back to the mounting table to put the facing on it. John started out as he usually does by rinsing and squeegeeing the poster. The areas that had the most amount of restoration were the black and the red and those were the areas that we were most concerned about, but when John squeegeed the excess water out there was not any visible loss of pigmentation.
 |
| Pictured: John putting the poster through its second rinse of the day. |
 |
| Pictured: One of the things that we watch for is tinting in the water, which would mean a loss of pigment from the poster. Fortunately this water was clear as crystal. |
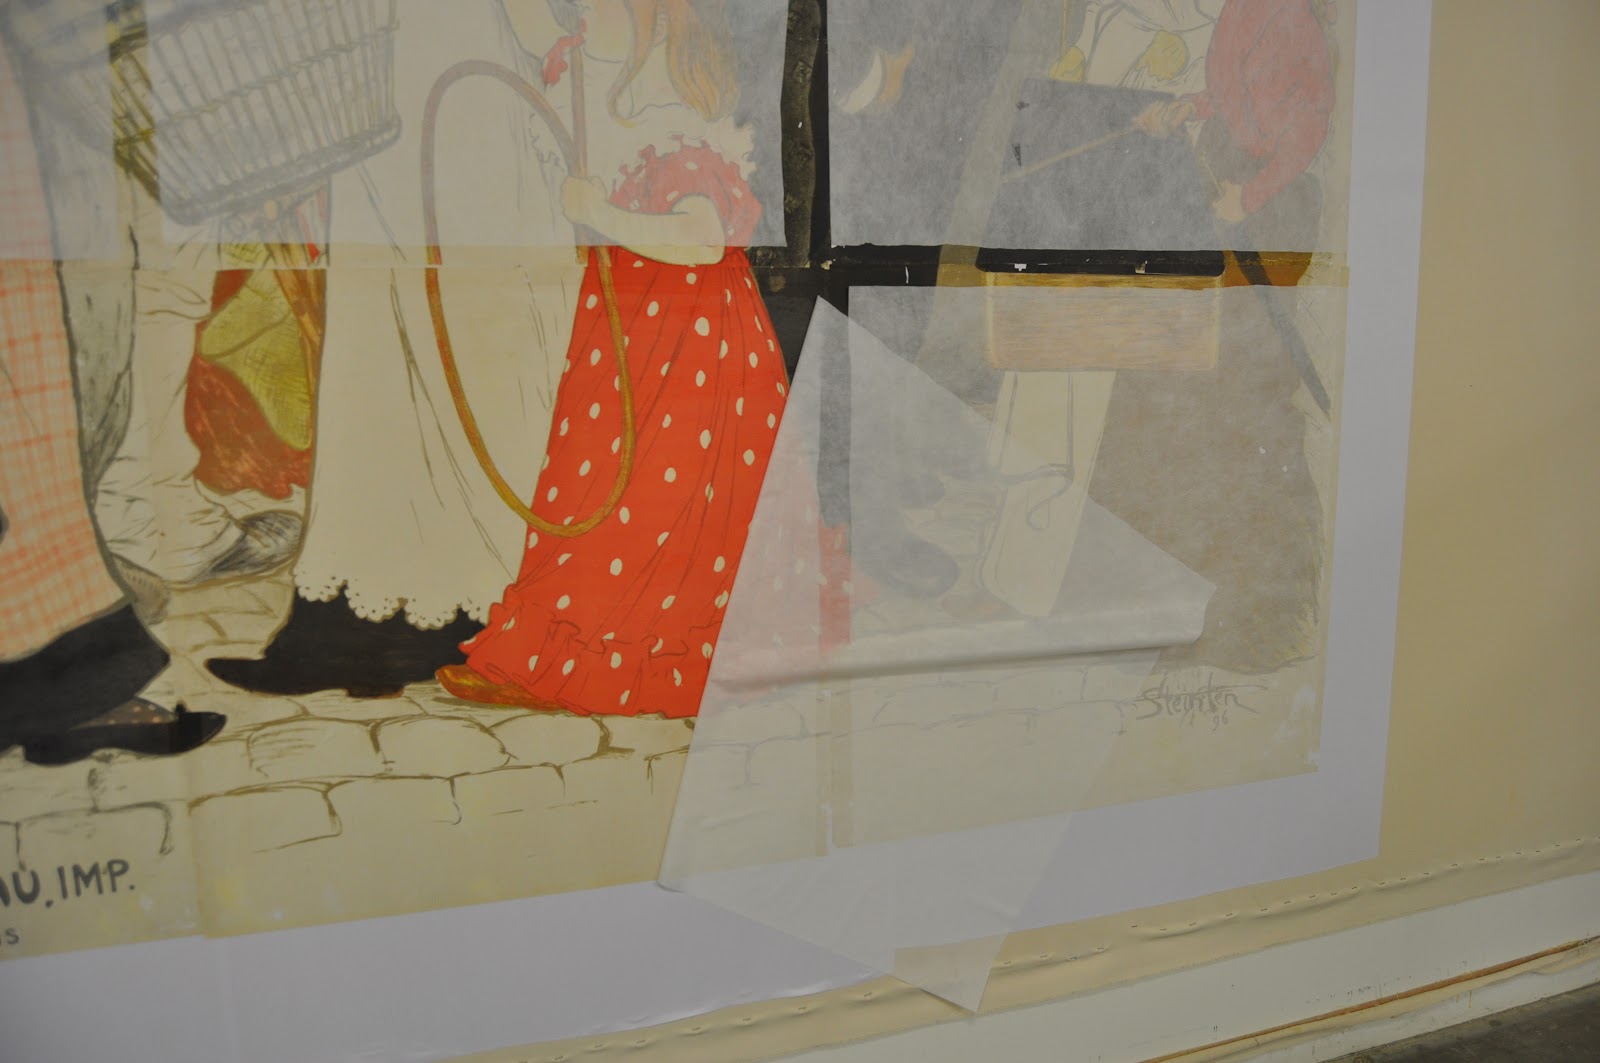
The edges of the poster were extremely delicate due to previous conservation (having been mounted, demounted and remounted already) and they had also been attacked by silverfish who had nibbled the paper thin. Because of these two issues we did lose some of the overlap, the point where each new piece of the poster overlaps the previous piece (thus the name). However, since the overlap points are not seen this was not a huge issue.
 |
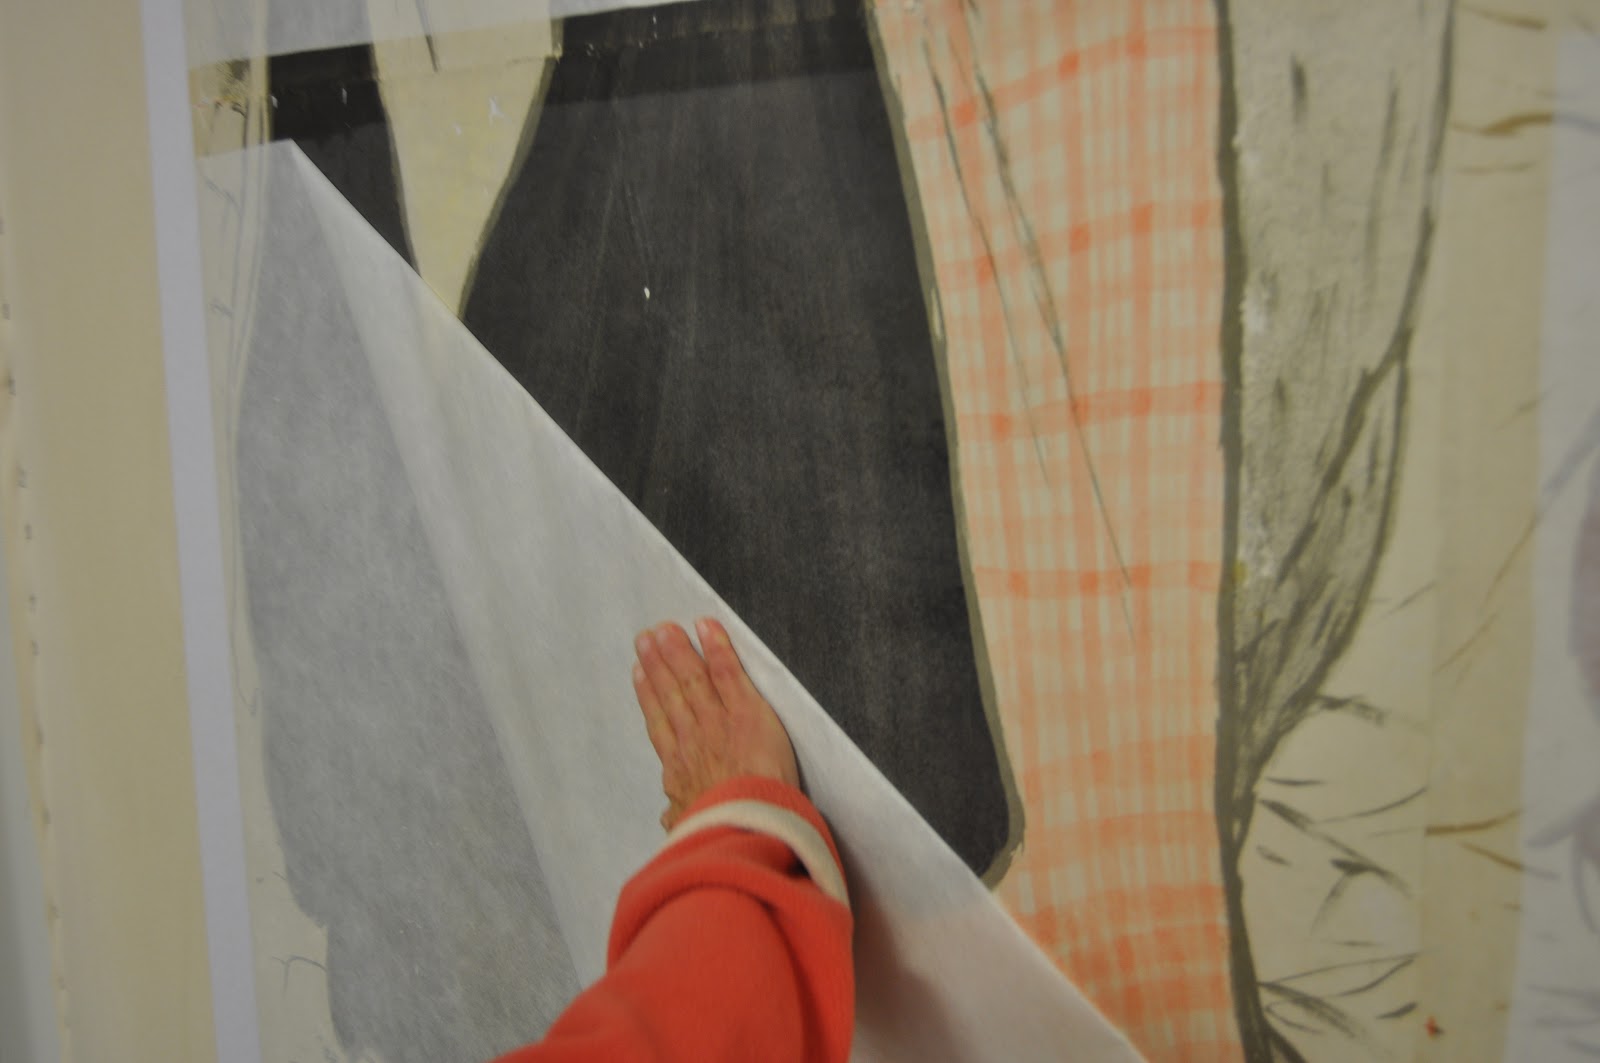
| Pictured: John moves the tips of his fingers along the edge to encourage the poster to stick to the piece of Mylar underneath it and not the one that is being removed from the top. |
John added the secret sauce to the poster to enable us to put a sheet of hollytex on the front of the poster temporarily. Once the hollytex was flat against the poster we moved it over to the large (and seriously heavy) melamine board. We mounted it with the hollytex and the poster face down against the board, so that the tissue on the back was exposed.
 |
| Pictured: Aaron and John putting the hollytex facing down. |
 |
| Pictured: John smoothing out any air bubbles. |
 |
| Pictured: The poster is laying face down as John uses the squeegee to temporarily adhere the poster to the board. |
John kept an eye on the poster as it began to dry and we did see some small bubbles between the tissue, confirming John's instinct to remove it from the back. If we had left it on the poster could have had air bubbles in between that, as previously mentioned, would have meant that the poster could not be displayed without the risk of possible damage.
So, it was time to take the tissue off. We honestly were not sure how easy this task would be. Demounting depends on several factors including the poster paper, the glue and the backing. Fortunately for us, the tissue came off beautifully in one smooth piece.
 |
| Pictured: John started with just one corner and realized that he could take the whole piece of tissue off at once. |
 |
| Pictured: Once he had started it, the tissue came off easily. |
 |
| Pictured: I grew up in the country, so this picture makes me think that John is holding a snake skin. He isn't, fortunately, its just the tissue he pulled off the back of the poster. |
The first piece of this large format poster was our tester and it went swimmingly, so we used the same technique with the next 5 pieces. On each piece the hollytex facing provided a foundation for the poster and the tissue backing came off easily.
After the pieces had dried, John removed them from the board and trimmed the excess hollytex off. He also removed the hollytex from the overlap points so that when we mounted each piece there wasn't more hollytex than was necessary.
 |
| Pictured: The giant spatula freeing the hollytex and poster from the melamine board. |
 |
| Pictured: Aaron and I, holding one of the pieces still attached to hollytex. |
 |
| Pictured: John trimming the excess hollytex off of the overlap. |
We then began to prep the canvas that had been mounted to the wall earlier. Robin, John, Aaron and I put down paste and then the masa paper.
 |
| Pictured: I'm in the background rolling paste onto the canvas and one of the posters is laying on the table in the foreground. |
 |
| Pictured: I am eyeing the top of the canvas to make sure we have put glue high enough up while Robin smooths down the first piece of Masa. |
 |
| Pictured: Aaron concentrating really hard on making sure that the masa is flat against the canvas. |
When the linen and paper were prepped Robin and I began to wet down the individual pieces before putting glue on them. If the posters had not had the hollytex on the front we could have been in trouble because without it, the pieces might not have been stable enough to survive another rinse.
 |
| Pictured: Robin and I starting to prep the first two pieces of the poster. |
Mounting something of this size is a big team effort. While Robin and I prepped each piece, John and Aaron mounted them. The first piece is pivotal because it sets the angles for the rest of the pieces. After the first piece goes on, the rest is mainly lining up the edges of the image. We were extremely careful when removing the Mylar so as not to peel the poster off of the paper or to take the hollytex off of the poster. (We'll get to the hollytex facing in just a bit.)
 |
| Pictured: John checking the edges of the paper while positioning the first piece. |
 |
| Pictured: Aaron waiting for John to take charge of placing the next piece. |
 |
| Pictured: 1/3 of the way through! We used one of our tables as a more stable surface on which to stand to mount the top row. |
 |
| Pictured: Robin squeegeeing one of the pieces. |
 |
| Pictured: I think I have mentioned before that John has this wrist flick that flips poster over incredibly neatly on the wet mount table. I am just beginning to learn that and it's a whole lot harder than it looks! |
When mounting each part of the poster we use the Mylar to place it on the substrate. The glue does not dry too quickly, so we do have some leeway when positioning the pieces. We are able to press it gently against the masa substrate and then move it around to line up the edges of the image.
 |
| Pictured: I am still getting the hang of working with the larger Mylar pieces, so Aaron is helping me position this piece. |
 |
| Pictured: The poster really wanted to stick to this sheet of Mylar, so Aaron and I slowly lifted it off together. |
 |
| Pictured: Aaron looking at our work thus far. |
 |
| Pictured: Here John is checking the overlap, or lack there of, to make sure that the last piece is aligned with the others. |
As you can see at this point the poster still has the facing on each individual piece. The facing, pieces of hollytex that were originally bigger than the individual components of the poster, were temporarily bonded to the front of the poster to stabilize them during the mounting process. To remove the facing John and Robin carefully peeled the hollytex away from the poster.
 |
| Pictured: The mounted poster with the hollytex facing still on it. |
 |
| Pictured: Robin removing the first facing. |
 |
| Pictured: As you can see no paper or pigment is being pulled off with the facing. If done properly, they come off cleanly with no damage to the poster. |
There was a ton of static electricity left over in the sheets of hollytex the day that John and Robin were taking these off. So much so that they were sticking to the poster even after being removed. John said that he shocked himself several times while peeling them off.
 |
| Pictured: These photos were just too funny not to put up. |
 |
| Pictured: I guess there was just enough humidity in the air that morning to cause static cling. |
With the normal isinglass process the solution evaporates without leaving a residue. However, because of the hollytex facing on these, the solution was trapped and did leave a slight surface film behind. John used an enzyme to remove this. The enzyme did not damage the poster or remove any of the previous restoration.
 |
| Pictured: You can see the slight residue left over on the poster in the difference in color of the black. |
 |
| Pictured: John wiping away the residue with a soft cloth towel. |
 |
| Pictured: The leftovers from the isinglass process came off cleanly with no damage to the poster. |
Here is the finished product. This project was pretty unique in Poster Mountain history because of the technique that we used to mount it. There is a minor amount of restoration to be done on it, small areas in the black, but for the most part this piece came out beautifully! Not too shabby for a 116 year old poster with two mounts and demounts under its belt already.
It should be noted that several crucial steps in our process have been
omitted. If you have any questions please feel free to contact us
via email at postermount@aol.com or by phone at 818.882.1214. Also
check out our websites:
http://www.postermountain.com and
http://www.lapapergroup.com/. Please feel free to leave comments or questions on the blog!


Comments
Post a Comment